Including social media links on your website are a good way to keep your users connected and engaged with the content that you’re creating. Depending on how accessible you want to make your content (and presence), you can either take a minimalistic approach and place links to your social media accounts in a location like the footer, or you could go a step further and include social share buttons that can help drive discussions. We’re going to be accomplishing social media link inclusion on our site through the use of plugins. Depending on your WP theme and/or hosting service, some options may or may not be available to you. These options will be listed below.
WordPress.com
From your blog’s WP dashboard, hover over “Appearance” on the left side and navigate down to “Editor” and click the link. This will open up the home page of your blog in a format that you can edit. Scroll down to the footer section, and click somewhere in the footer to get the blue outline box to show that you’ve selected the footer. This should bring up some selection options like shown in the screen shot (Fig. 2). Click the 3 vertical dots and click “Select parent block (template part)”.
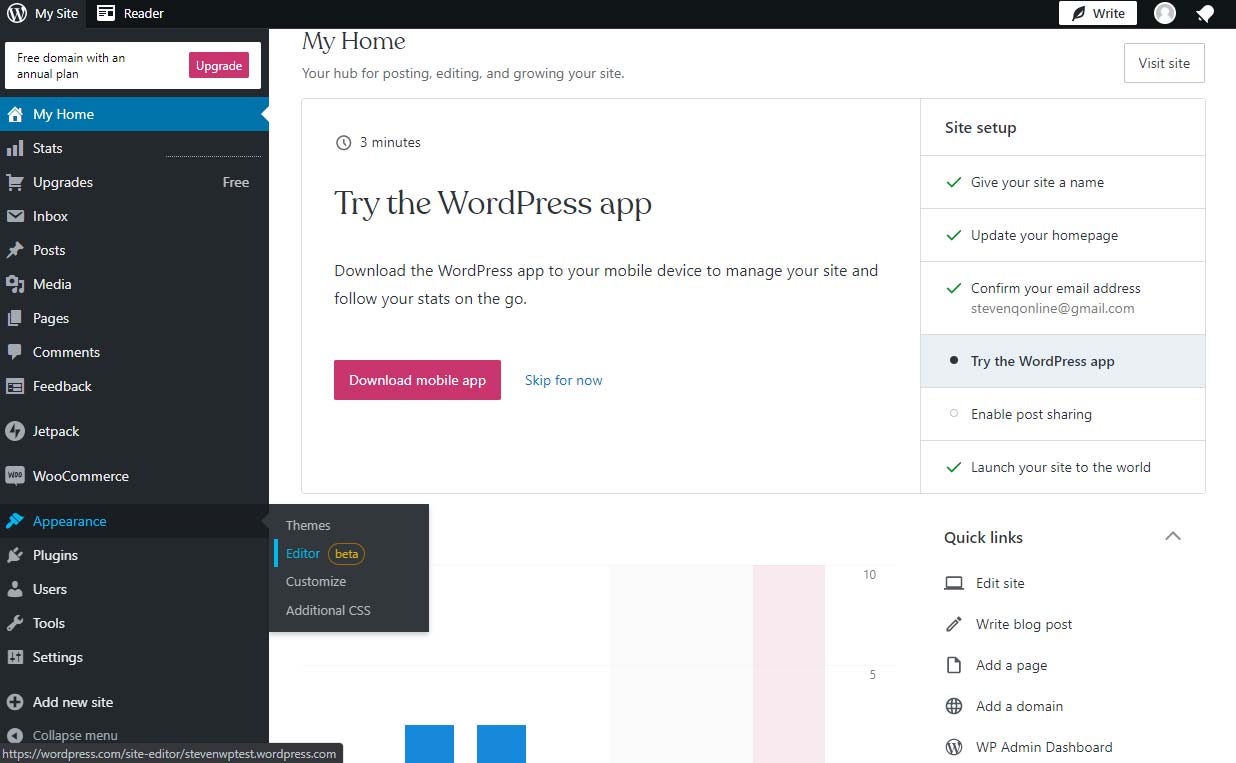
Fig. 1 Your WP dashboard
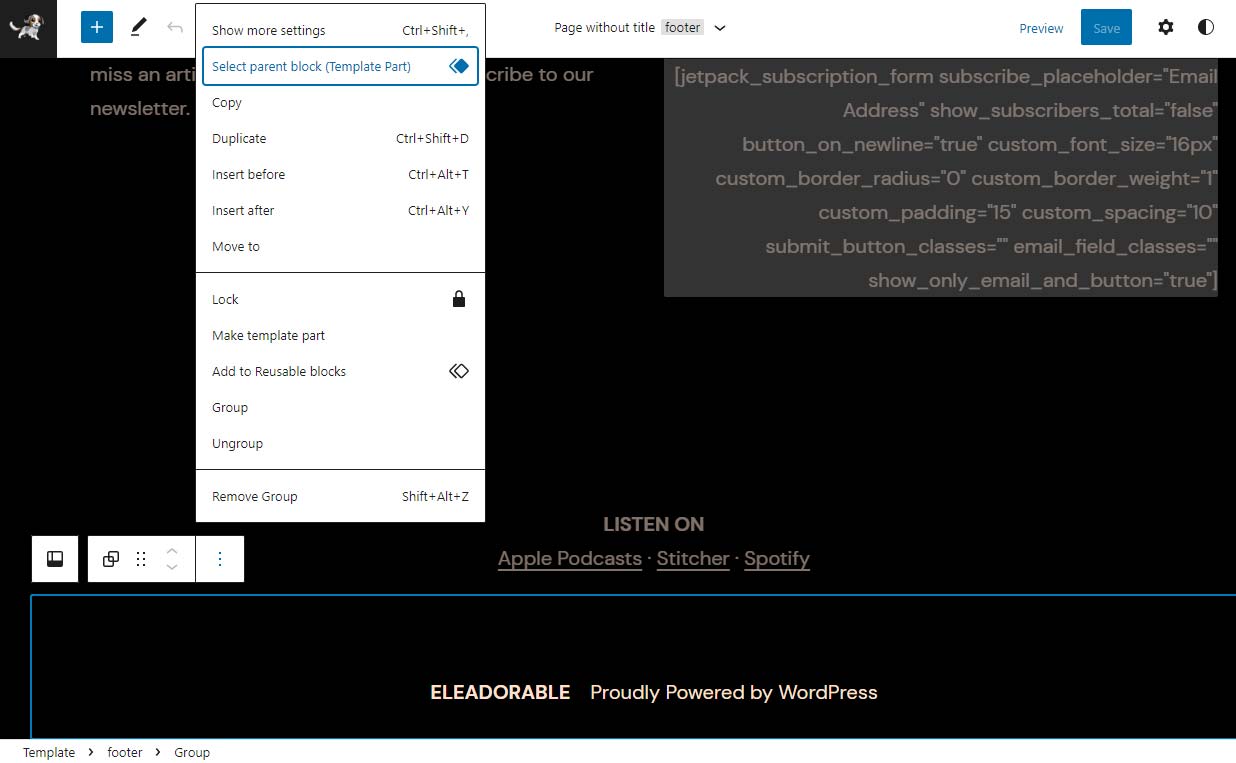
Fig. 2 Select parent block
You now have the footer selected to edit. Click on the 3 vertical dots again and then click “Edit footer”. You’ll be taken to a screen where you can edit the footer separately from the rest. In the top left, you’ll see a blue “+” button that will allow you to add new elements, click it scroll through the elements and find “Social Icons” and click it.
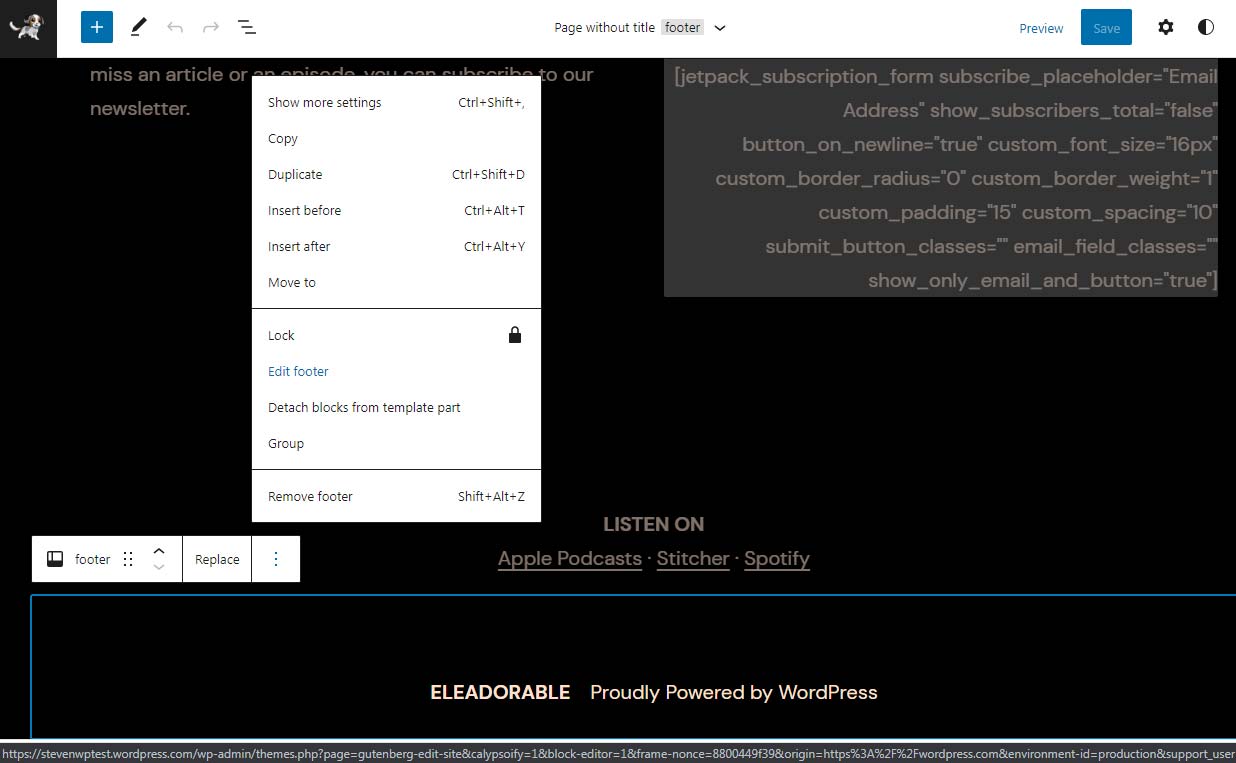
Fig. 3 Edit footer
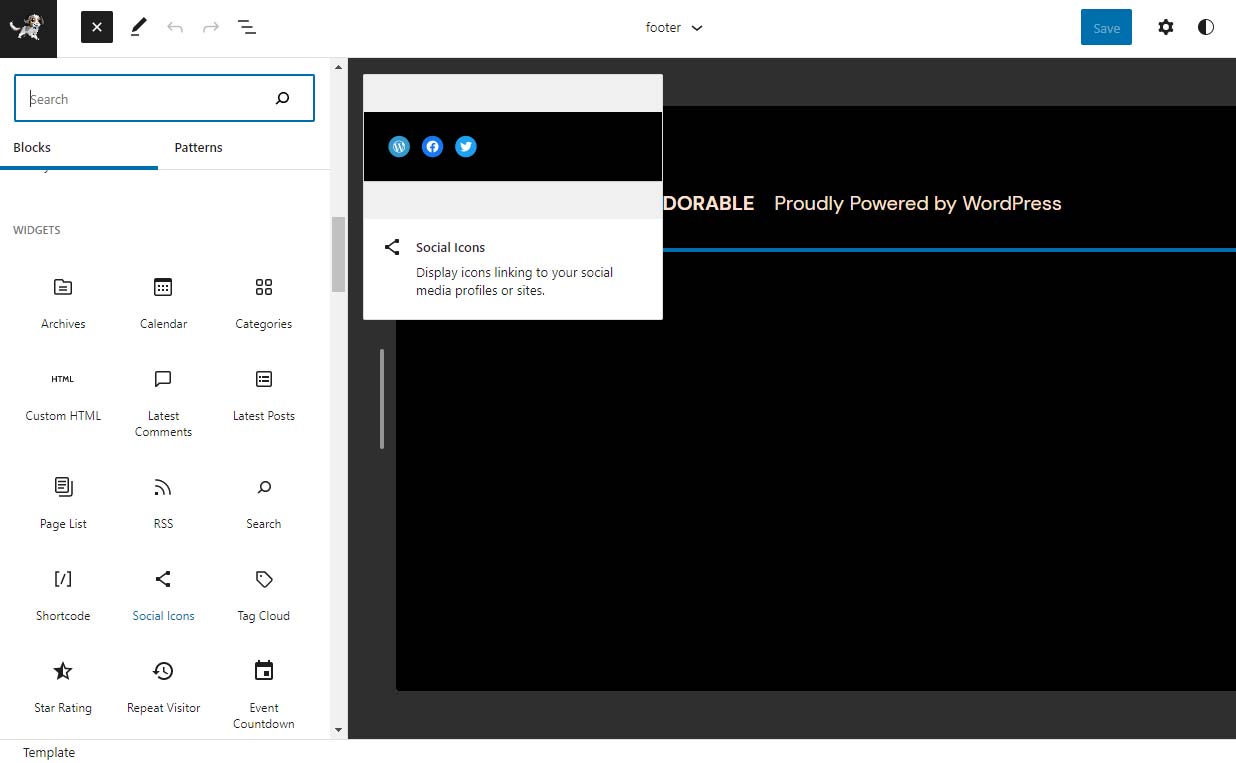
Fig. 4 Add Element > Social Icons
A little box will appear that says “Click plus to add”, go ahead and do that. This will open up a little pop up that allows you to select the specific icon you’re looking for, you can either scroll through to browse or just type in the service name. Once you click on the icon, a little version will appear. You’ll have to click on it to assign the address that it points to. If you don’t assign a URL to the social media icon, it will not appear on your website until it is linked.
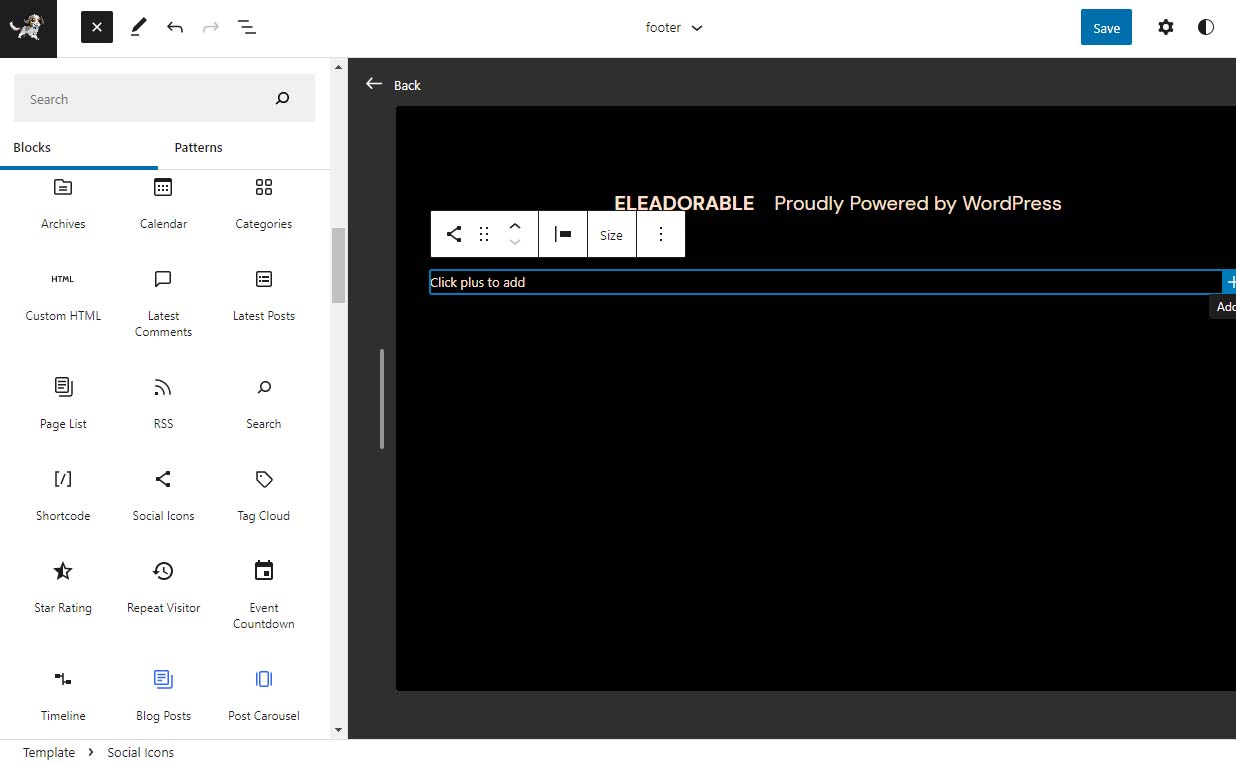
Fig. 5 Click the “+” button to add a new social media icon.
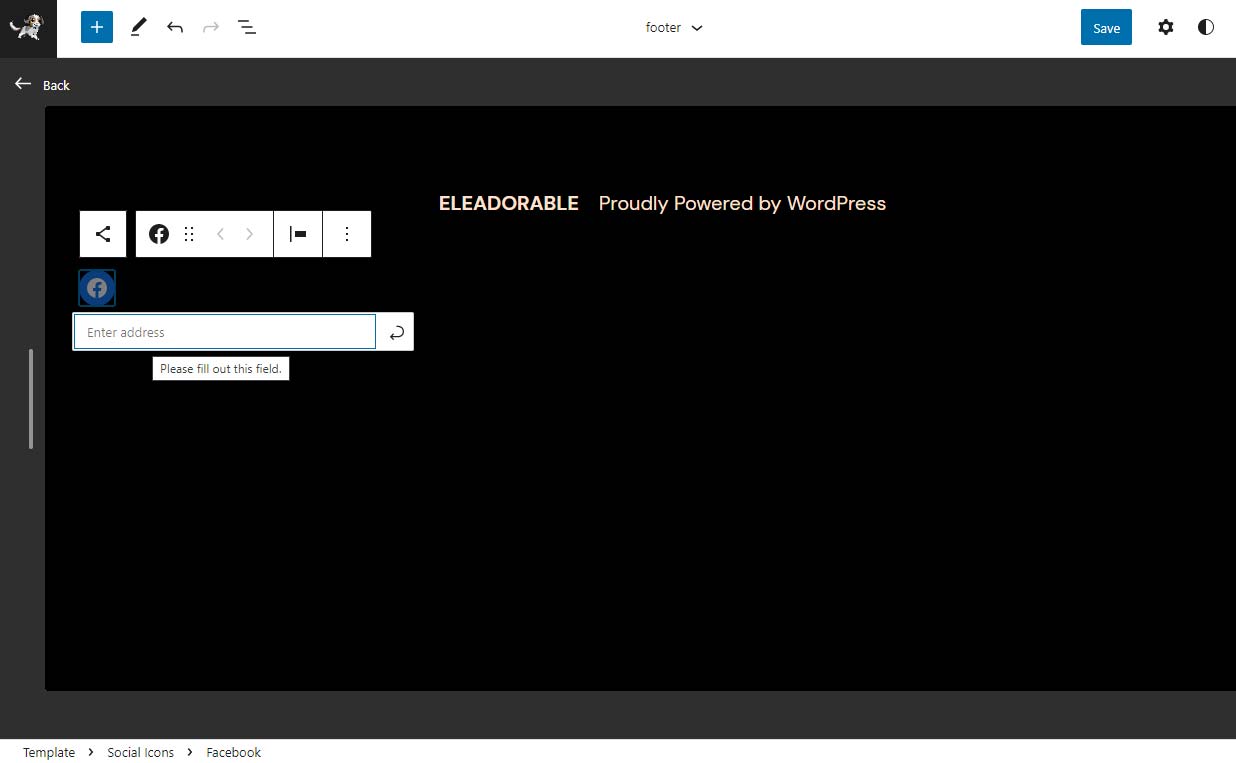
Fig. 6 You need to include an address for the social icon to appear for users.
Click the blue “Save” button in the upper right corner and you now have social media icons in your footer. Let’s finish up with a little bit of organization — click the “List View” button on the top navigation bar, it should look like 3 horizontal lines that are staggered like a list. Your social media icons were likely created outside of the main footer group, so go ahead and click on the dropdown arrow next to “Group”, and then on the one next to “Row”. Now you can click and drag “Social Icons” between “Site Title” and “Paragraph” (or whatever your theme has here). You should be able to see how it will approximately look. Again, click the blue “Save” button to save your changes. Refresh your blog’s home page to make sure the footer now shows your social media links.
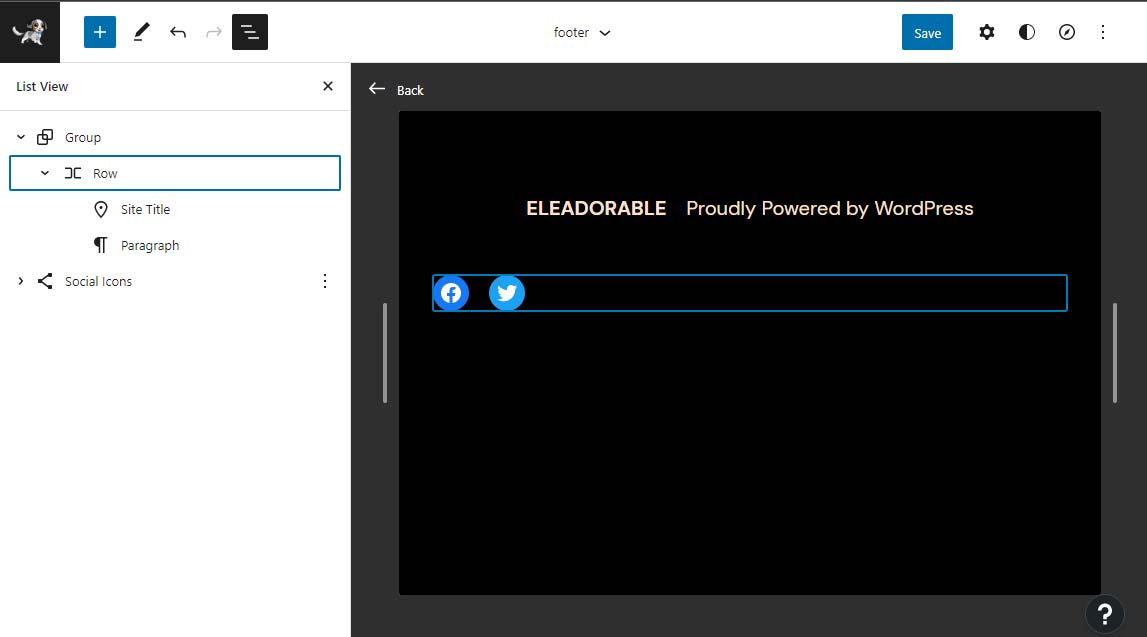
Fig. 7 Open up the “Group” and “Row”, then drag and drop the Social Icons where you want them.
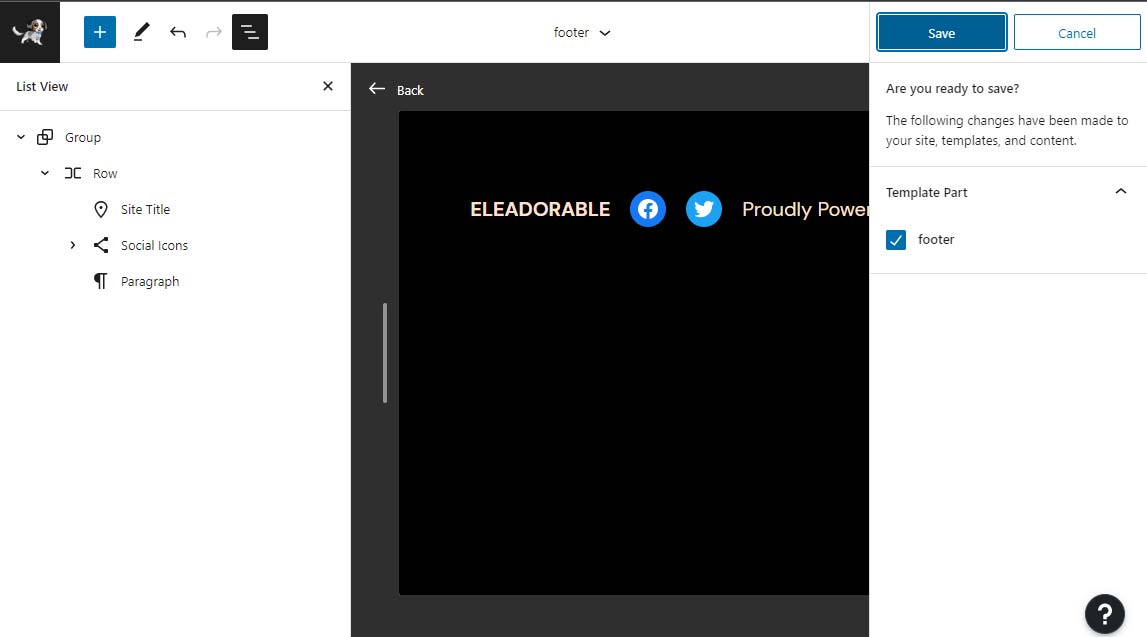
Fig. 8 Make sure to save your changes once you are satisfied.
If Your Theme Allows Widgets
If you have a website that is hosted on a free service, such as Infinity Free or x10Hosting, the theme you selected for your blog site may allow the use of widgets. WordPress widgets are ways you can add content and features to your sidebar or other navigational areas, such as the header or footer. Availability of widget locations is a case-by-case basis, based on the theme you’ve chosen. For the sake of simplicity, we’ll run through adding social media icons to the footer (if you decide to place yours in a different location, you can probably use this as a loose guide). From your WP dashboard, go to the left navigation bar, and hover over “Appearance” and navigate to “Widgets” and click it. This will bring you to the Widgets section where you can select the widgets you wish to include. Scroll down to find a suitable footer section, in my case I’m selecting “Footer 3”.
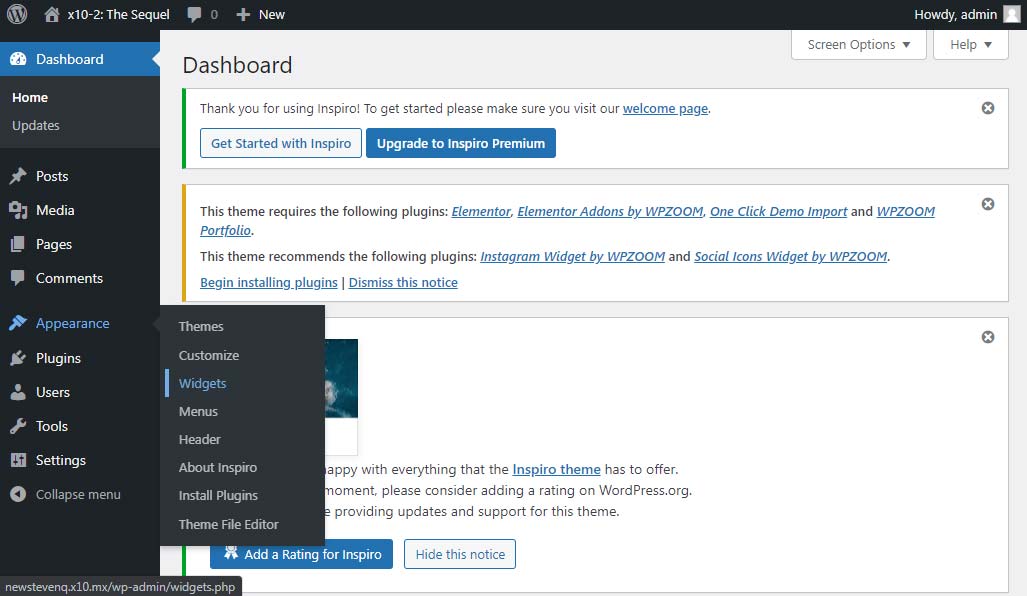
Fig. 9 Your WP Dashboard
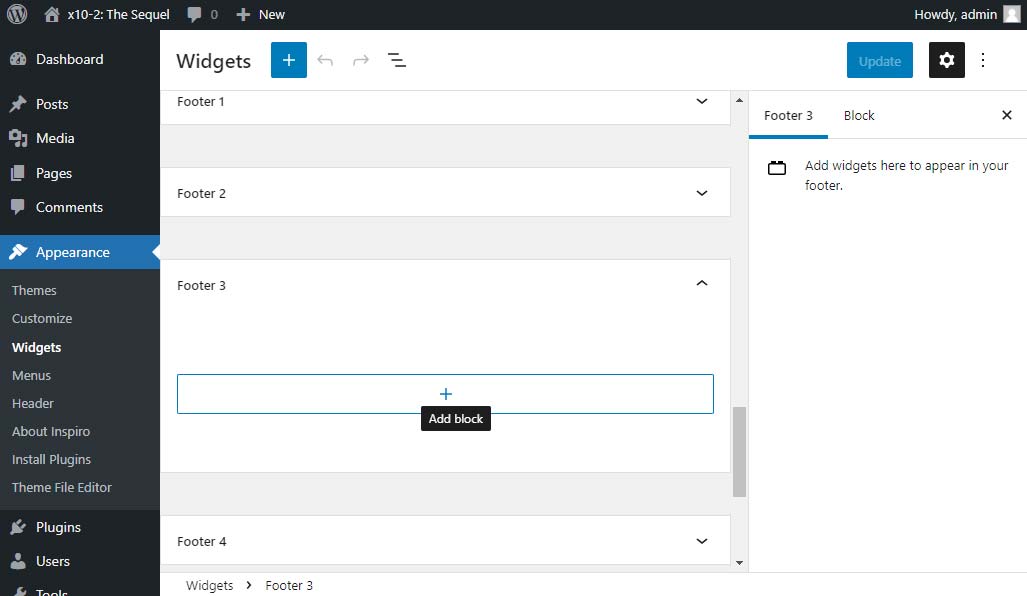
Fig. 10 Find the section where you want to add a widget.
If the dropdown is not already open, click the dropdown associated with Footer 3, and you should see a box with a “+” symbol. Click it to add a widget. It opens a window that you can browse for your desired widget, or search for a term. We want the “Social Icons”, so locate that widget and click it. This should create a new little rectangle within Footer 3 that reads, “Click plus to add”. Click the black “+” button to add new social icons. It’ll open a window where you can browse or search for your desired social media. Click the icon you want to add. Your new icon will be created in the area below. You need to click the icon to add a URL address so that the icon goes somewhere. Icons without links will not show up when you view your website as a user.
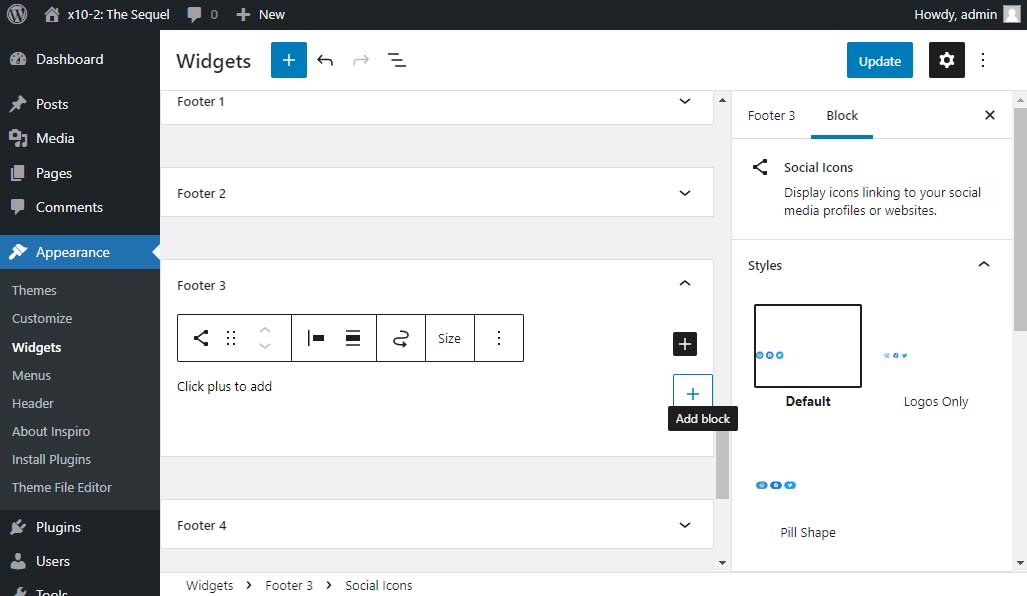
Fig. 11 Add a Social Media icon.
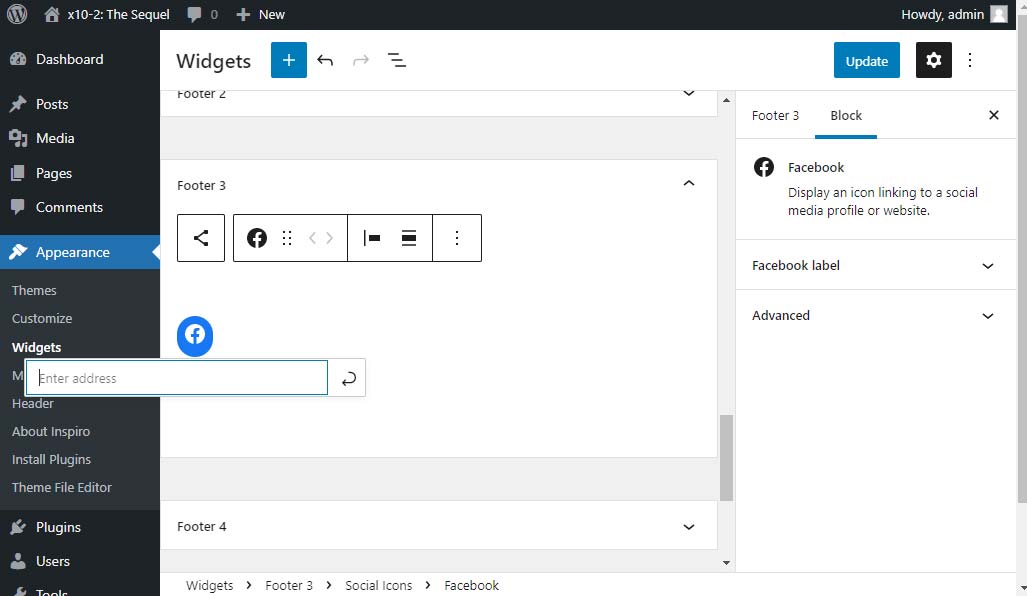
Fig. 12 Include the URL for your social media icon, otherwise it won’t show up.
Make sure to click the “Update” button (or Save) in the top right to save your changes. Once everything is saved and updated, view your website as a user and verify that the icons are appearing as you were intending.
If Your Theme Allows the (Site) Editor
Some of the more simple themes don’t have the functionality for widgets included, so you may have to resort to the WP Editor. From your WP dashboard, navigate over to “Appearance” and click on “Editor”. This will take you to an area where you can edit the look of your site.
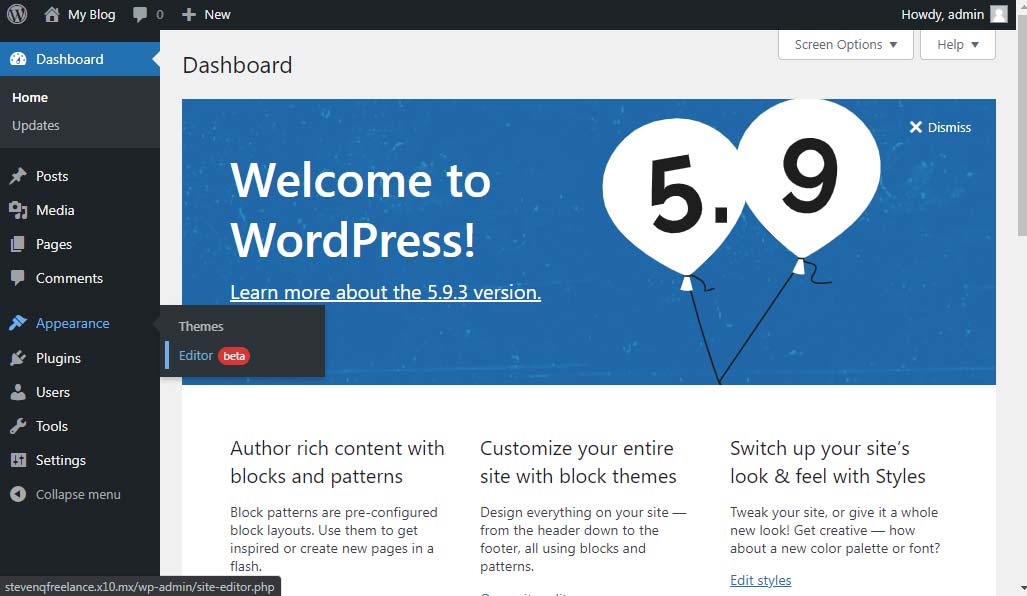
Fig. 13 From your WP dashboard, navigate from “Appearance” > “Editor”
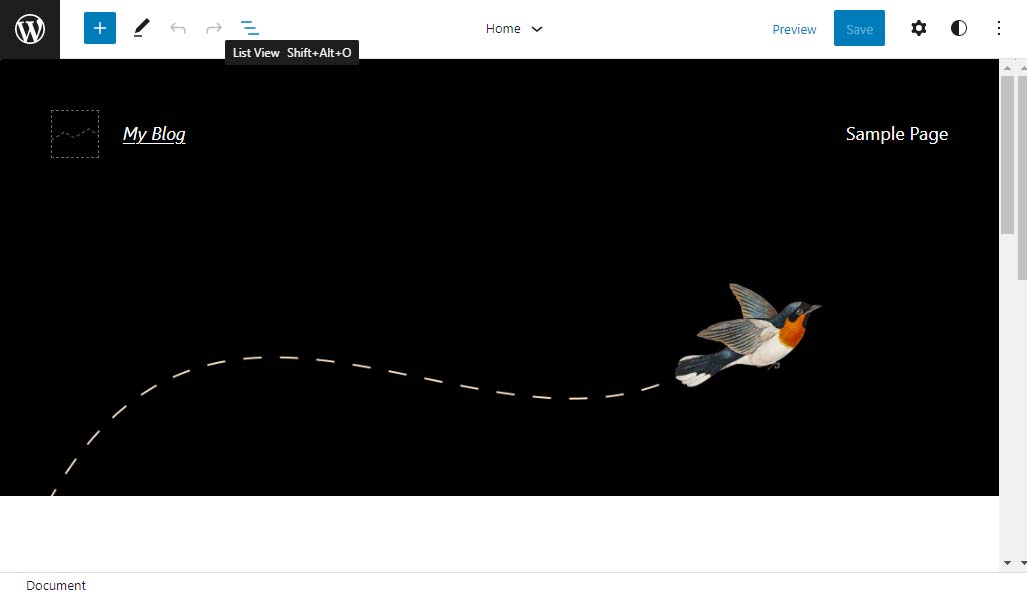
Fig. 14 Switch to List view to find sections with more ease.
In the Editor window, find the “List view” button on your top navigation bar, it should be 5th item from the left. Click it and find your site footer within List view. Click the 3 vertical dots associated with the Footer element and click “Edit footer” on the dropdown.
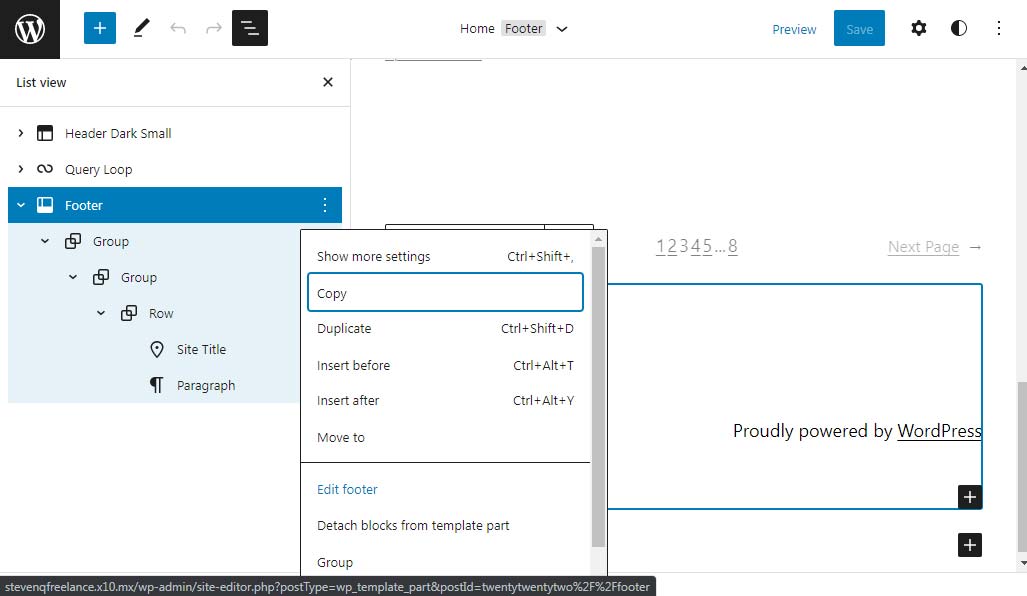
Fig. 15 Select the “Footer” and click “Edit Footer”.
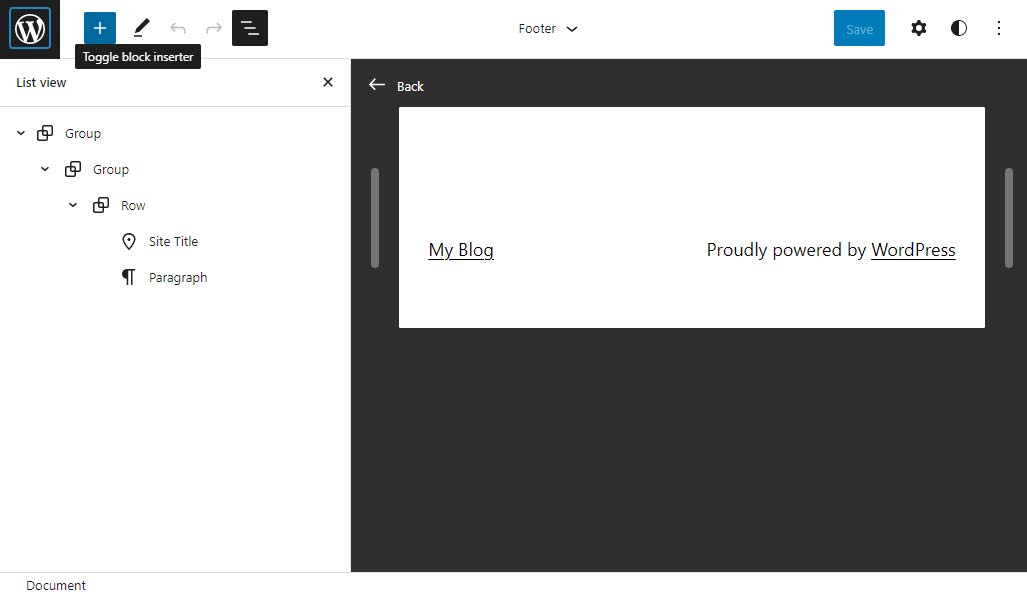
Fig. 16 Click the blue “+” button to add a block.
From here, click the blue “+” button at the top left to add a block. In the search bar, type “social” and then find “Social icons” and click it. Your social icons widget is now in your footer ready for you to add icons. In the new box that opened up, it says, “Click plus to add”, so click the black “+” button to the right of that section and select the social media icon you want to add. After the icon is added, you have to click on the new icon to attach a link. The icons will not be displayed for users if the link address is blank. After you’re done adding your social media icons, click the “Save” button in the top right to save your changes.
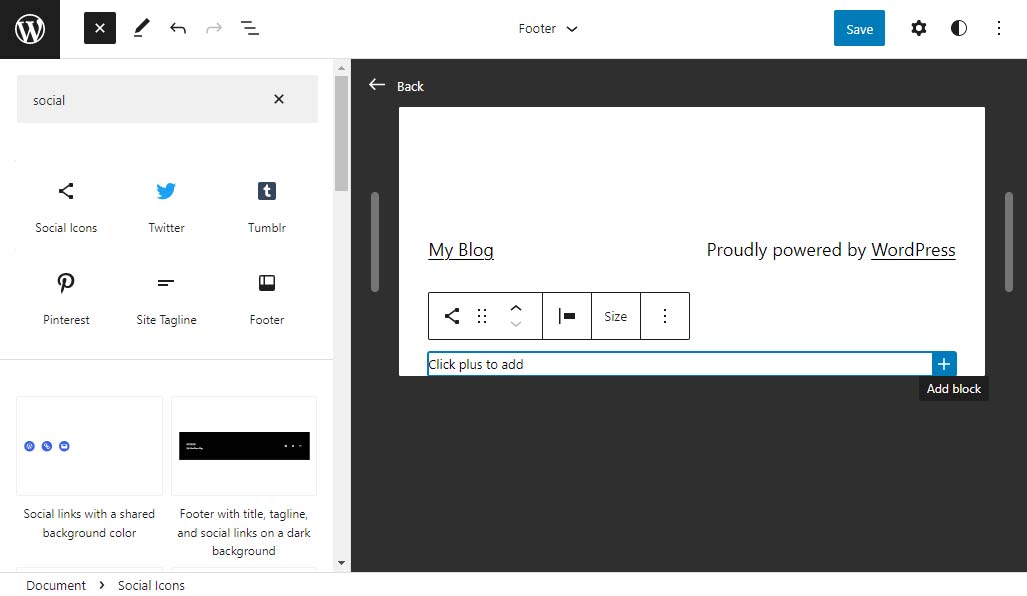
Fig. 17 Add the “Social Icons” widget.
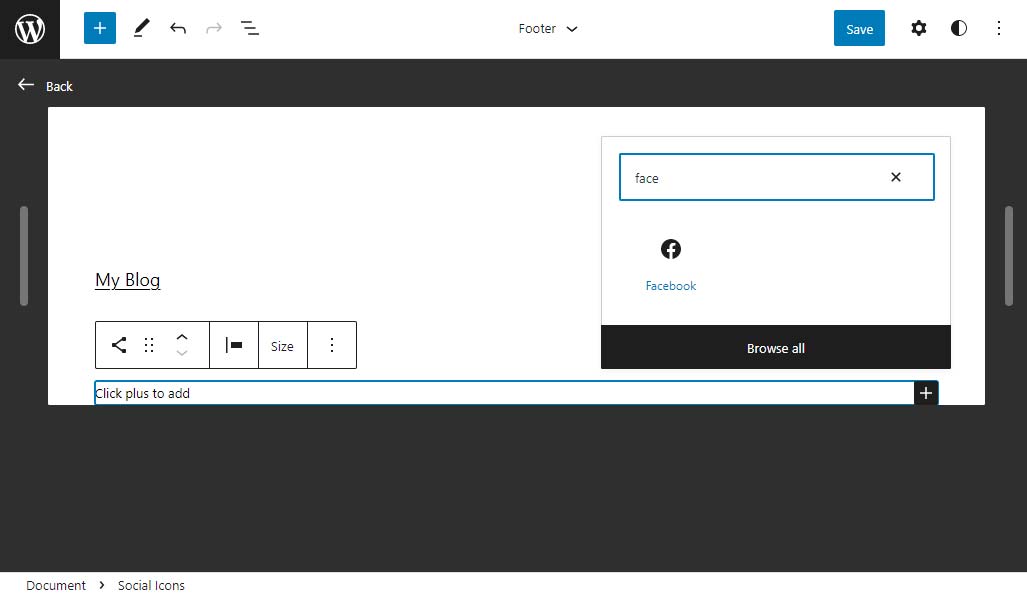
Fig. 18 Add the icons you want and remember to include the link address.
Bluehost Website Builder
If you have your website hosted by Bluehost and are using their custom Bluehost Website Builder app within WordPress, setting up your social media links should be relatively easy. From your WP dashboard, navigate over to the left-side navigation bar and find and hover over “Appearance” and click “Customize”. From there, click on “Footer” and make sure that “Social buttons” is set to ON.
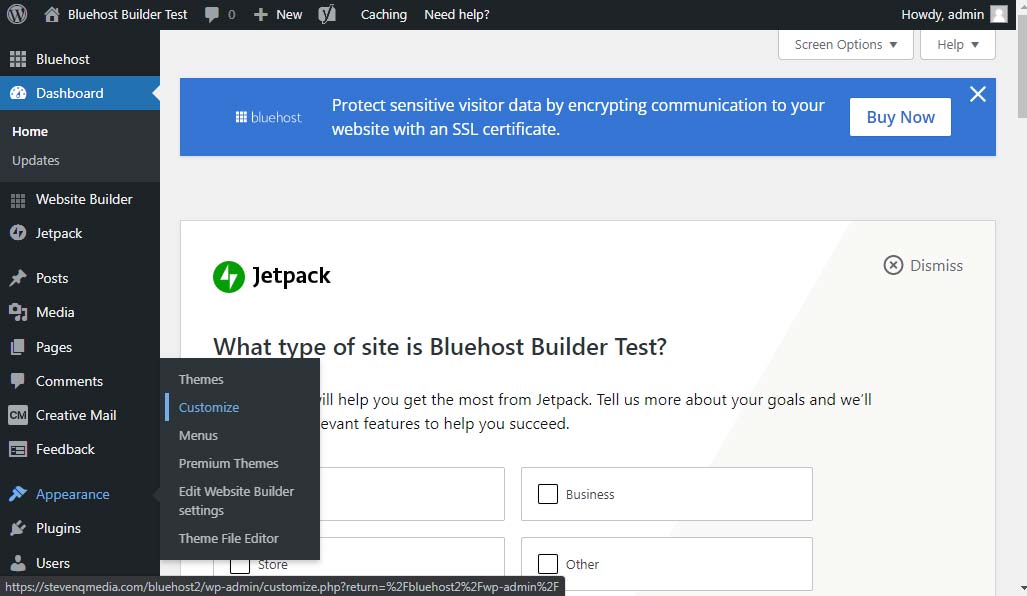
Fig. 19 Your WP dashboard within your Bluehost account
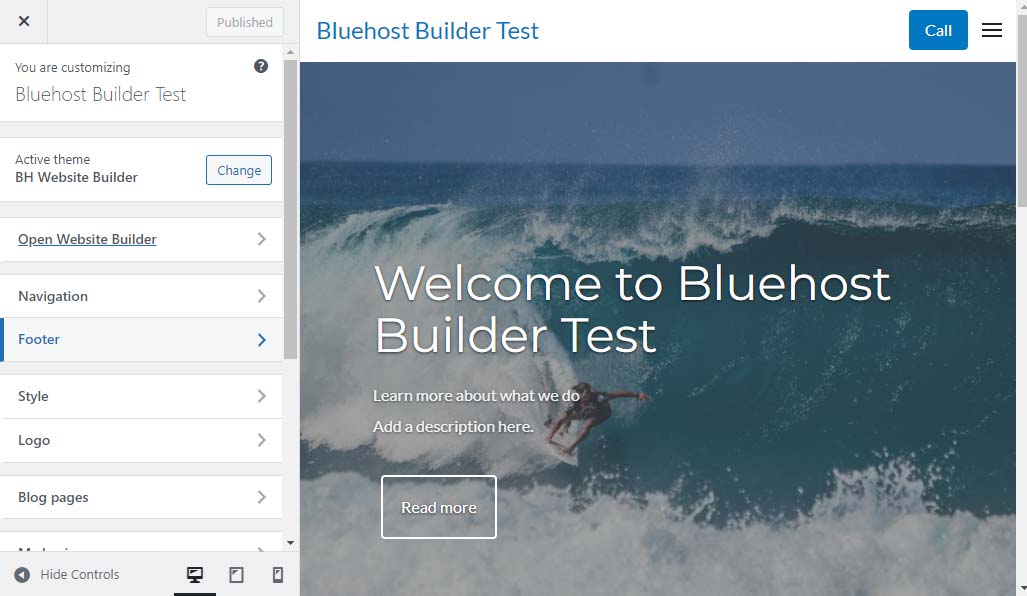
Fig. 20 Customizing with the Bluehost Website Builder
Next, click the link just below that says, “Social Accounts” and input the links to the social media accounts that you want to display. Once you are done adding your social media links, go ahead and click the blue “Publish” (or save or update) button at the top to save your changes. Make sure you view your site logged out of your administrative account so you can verify that your readers will be able to see the links.
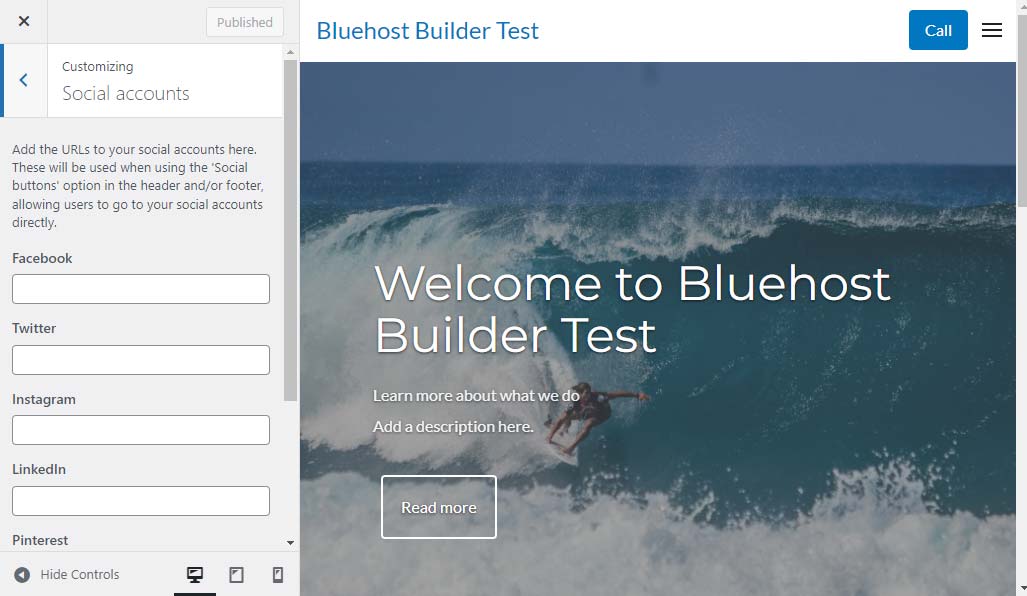
Fig. 21 Customizing the Social Media accounts
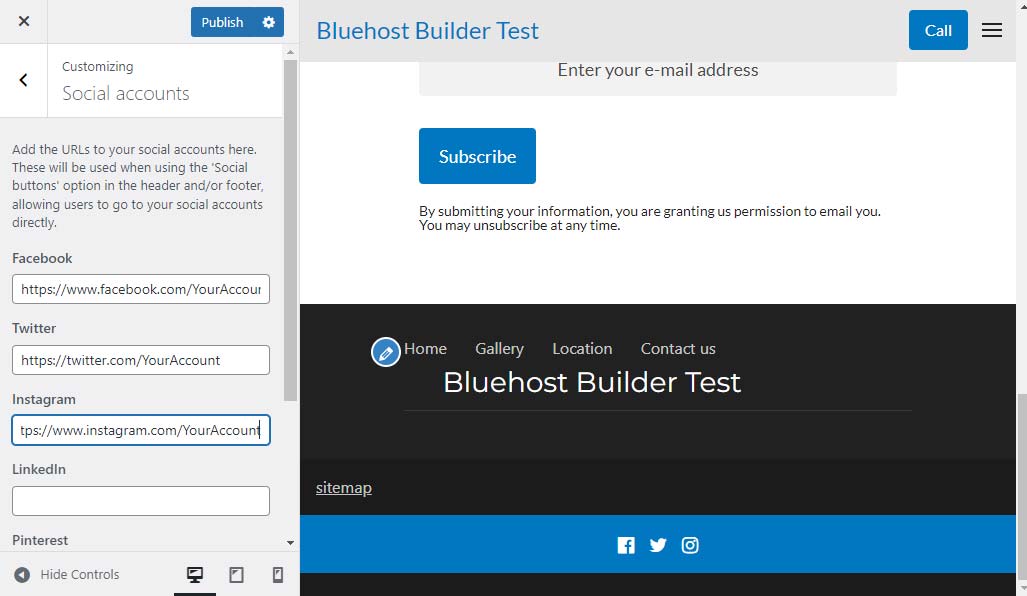
Fig. 22 Only the accounts with links assigned will be visible.